Vidoo app interface
The application consists of the following features:
Vidoo app features
Activities | Live Video | Cameras | Clips | History| People| Face logs
Activities
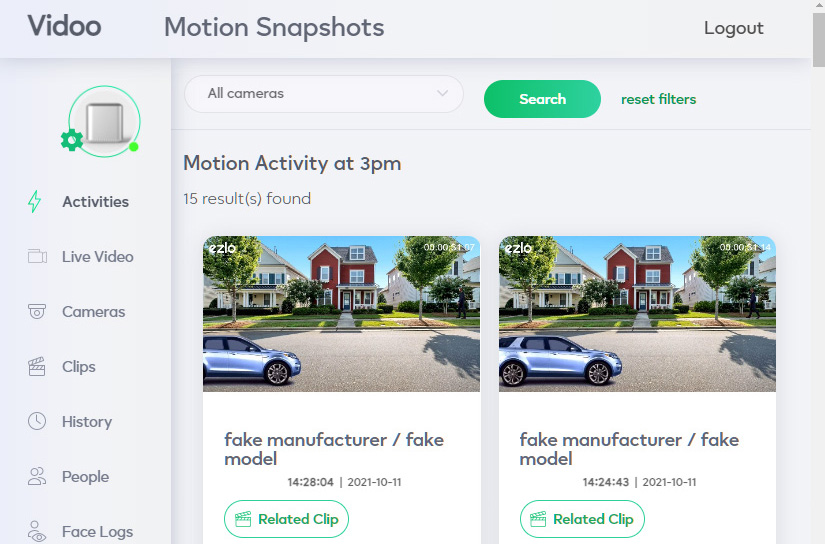
After a successful login, the vidoo App primar yinterface will be shown. This option displays all the motion activities for each camera (i.e., camera 1, camera 2, camera 3…) at a indicated time.
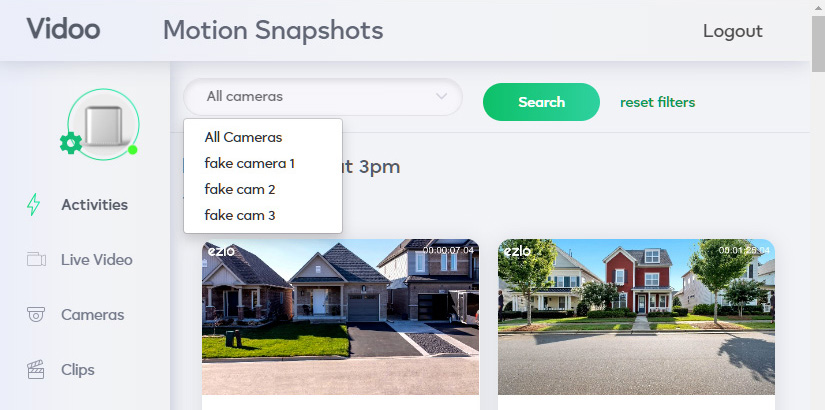
 To select a specific camera that you would like to display, click the camera selection drop-down button, then click Search after selecting.
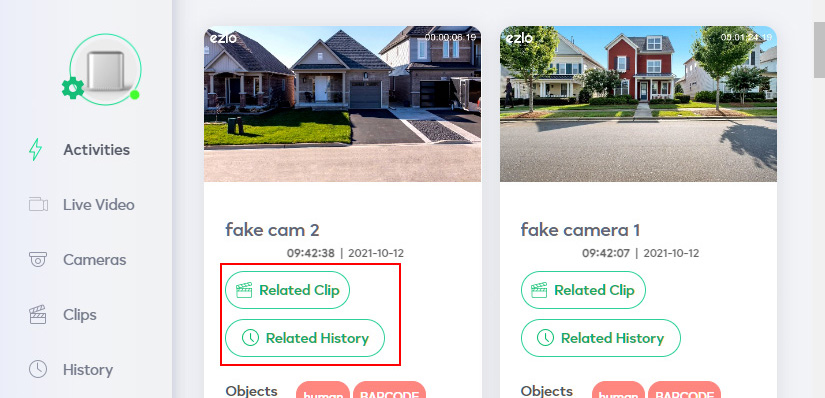
 If you would like to view a related clip or history, click the Related Clip or Related History button on a specific camera.
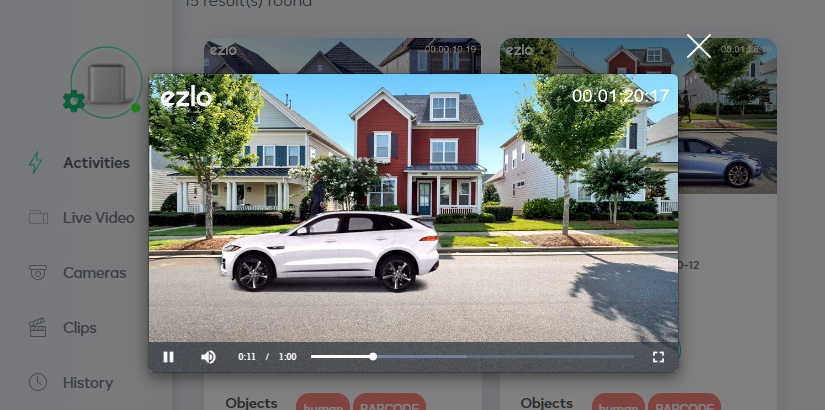
 Example of a Related History clip playing
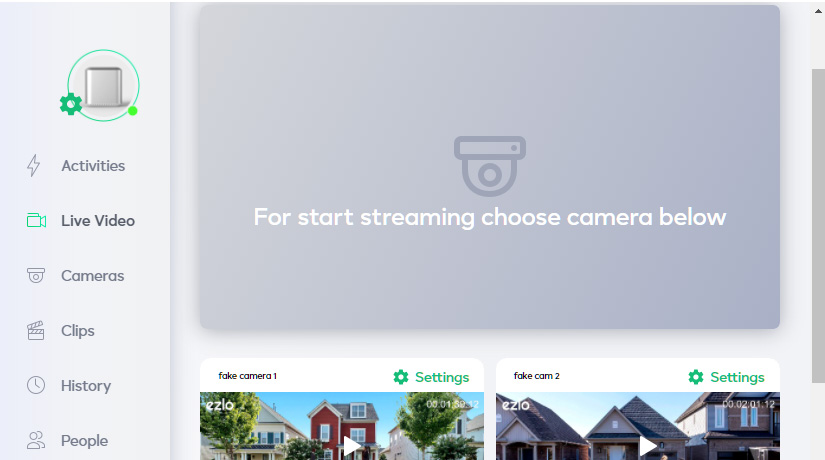
Live Video
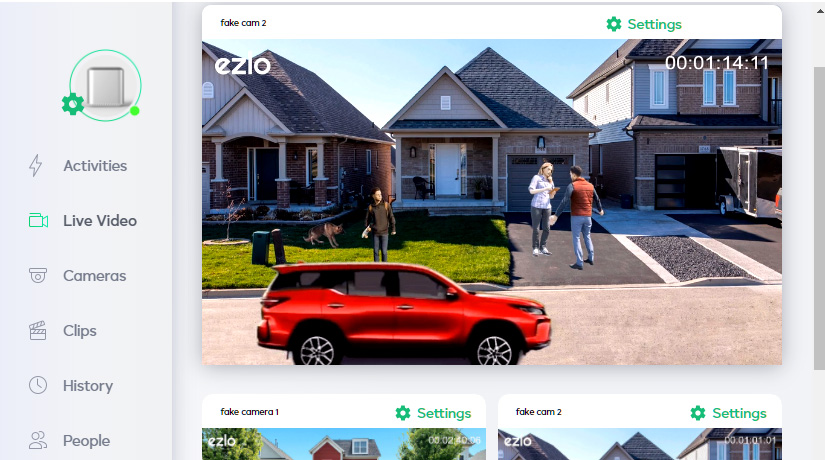
This option allows you to stream a live video of a selected camera.
 Example of a live streaming video of ‘camera 2’
Cameras
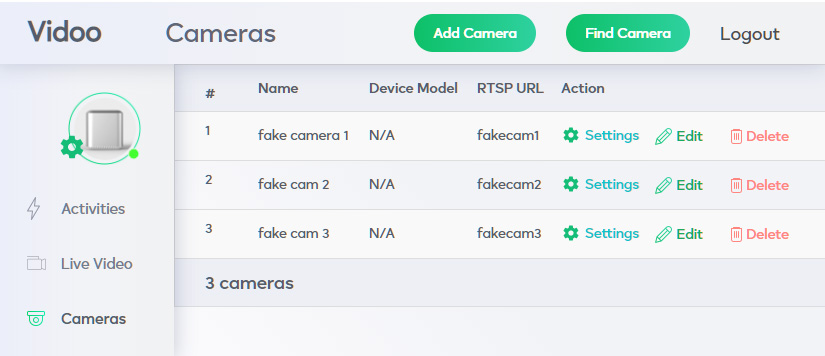
This option displays the camera information and enables you to configure the camera settings.
Add Camera
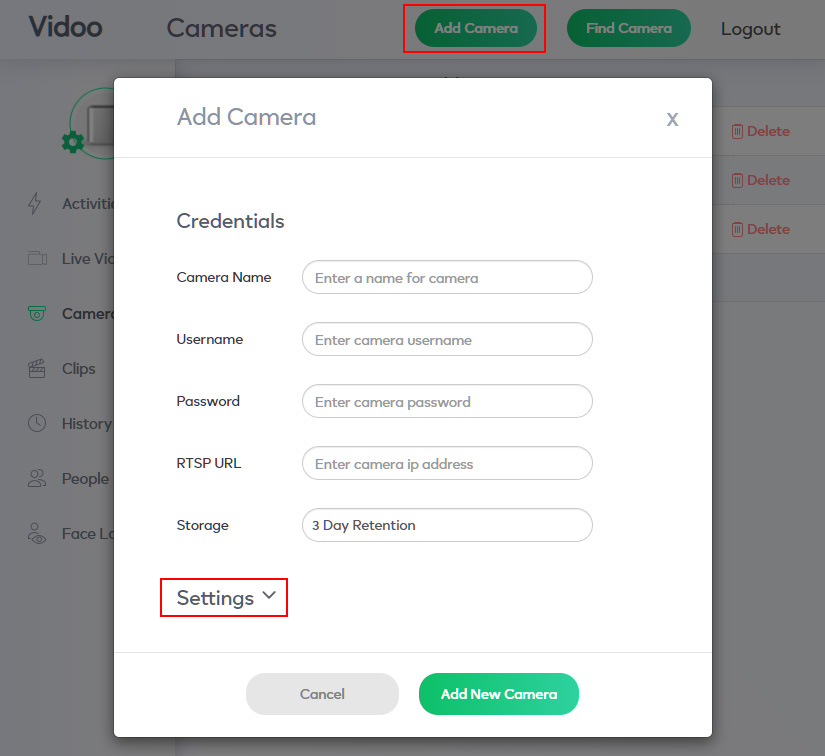
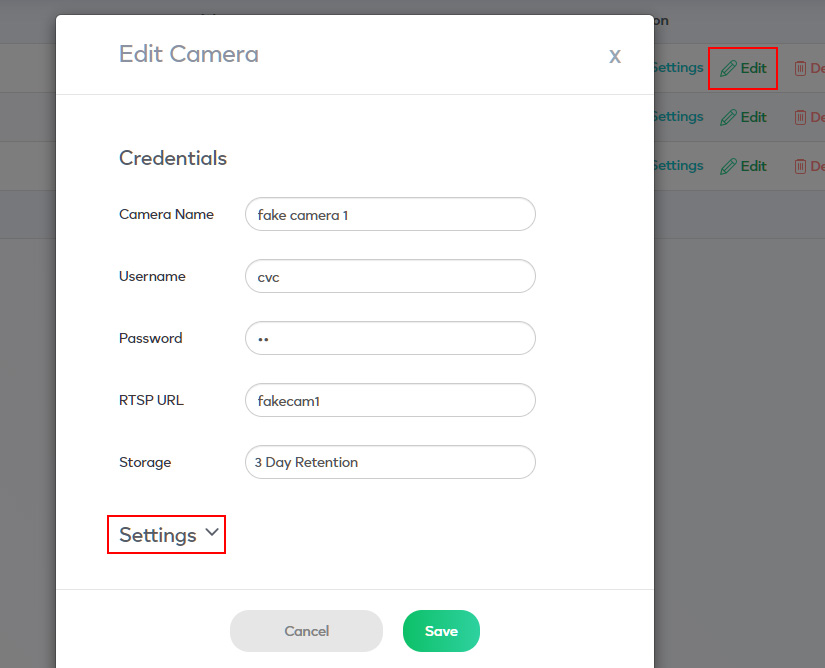
This button will allow you to add a new camera and you can configure the following fields.
-
Camera Name – the camera name that will be displayed
-
Username – the username for the new camera
-
Password – the password for the new camera
-
RTSP URL (Real Time Streaming Protocol) – the server that connects between the new camera and its video stream
-
Storage – this feature allows you to select the duration of time for which the recorded video clip should be maintained or retained in the vidoo App. The storage is set to 3 Day Retention by default. You may select from 1 Day Retention to Infinite Retention.
-
Motion Sensitivity – this determines how drastic a change in the camera’s field of view must be to trigger a clip. For example, a slow moving car across the screen may trigger a video clip if the sensitivity is set to high, whereas a lower sensitivity may not trigger a recording for the same amount of motion. The Motion Sensitivity is set to 10 by default. This can be adjusted from 10 (the lowest) to 90 (the highest).
-
Motion Detection – this option utilizes the sensor to detect nearby motion. This setting is enabled by default.
Once done with the configuration, click the Add New Camera button to apply the settings and save the new camera.
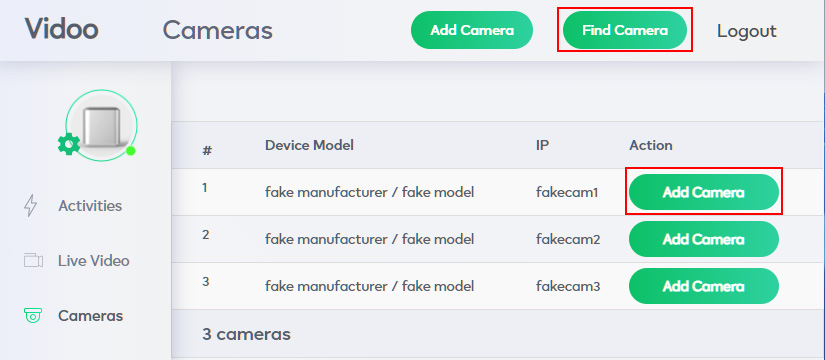
Find Camera
This option will display the other available camera(s) integrated within the application.
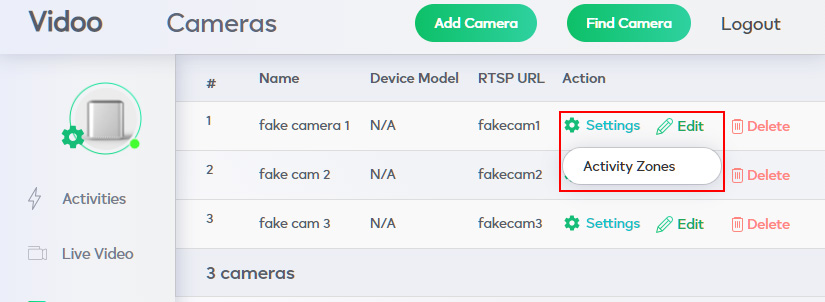
Setting activity zones
This option will allow you to create new activity zone(s). Click the Activity Zones link to proceed.
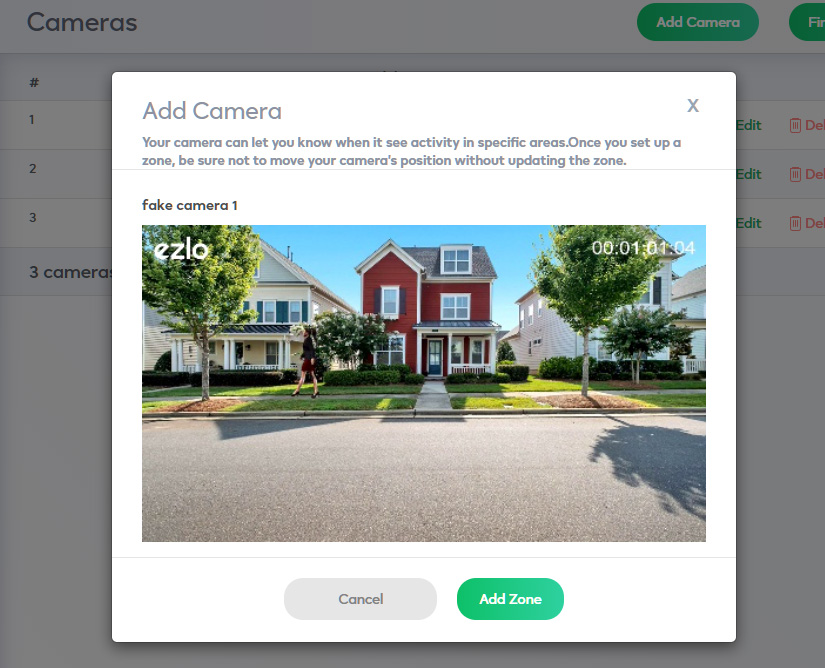
 Activity zone focuses the motion detection on a specific area within the camera’s field of view. Click Create New Zone to create an activity zone.
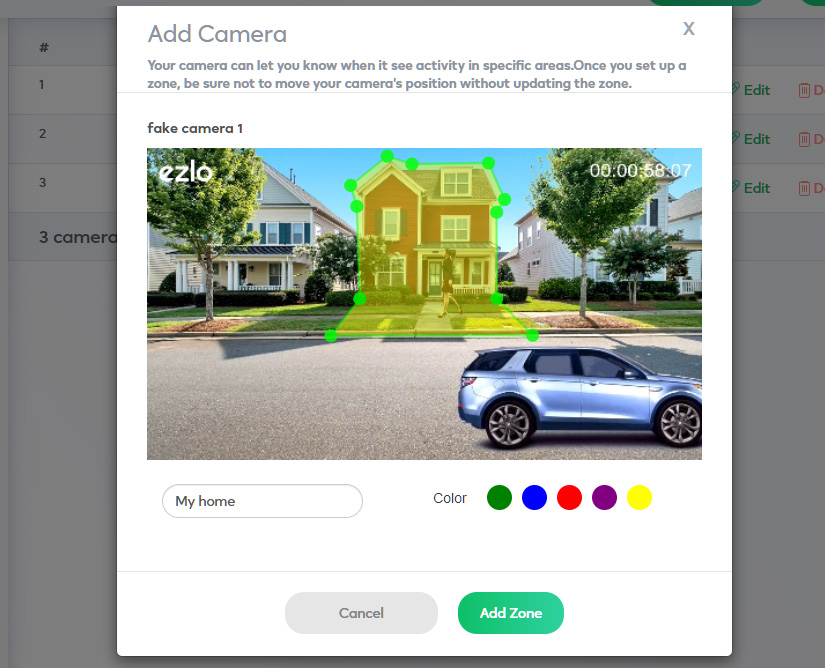
 Drag the edge(s) of the light-green shape to select. Enter a Zone Name, then click Add new zone to save the created activity zone.
Edit a camera
This option allows you to configure the camera settings. Configure the following fields, then click Save to apply the settings.
Delete a camera
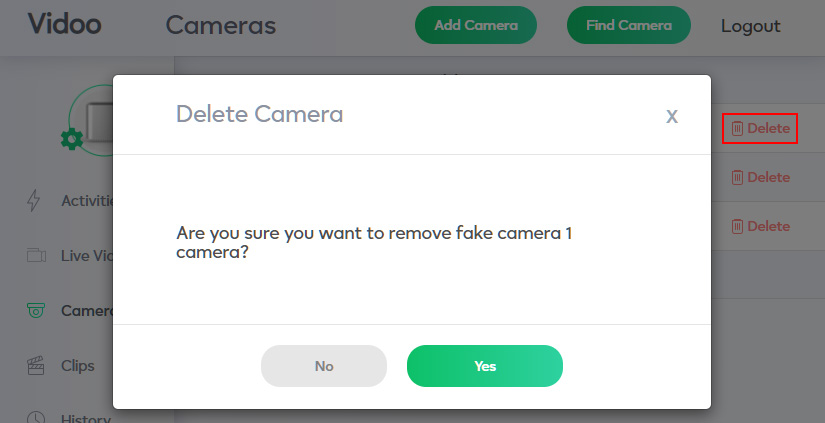
This option allows you to delete an existing camera. When the following pop-up window appears, click Yes to confirm.
Clips
This feature contains the recorded clip(s) for each camera.
When you click favourite button, this history/clips will not delete.
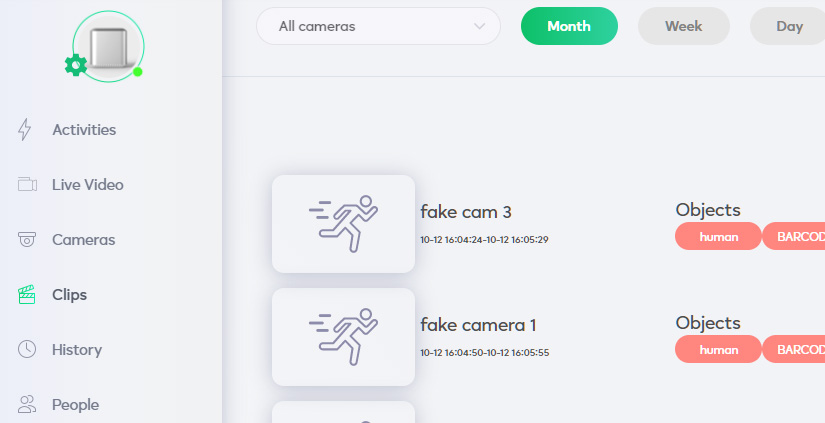 To select a camera that you would like to display, click the camera selection drop-down button, then click Search after selecting.
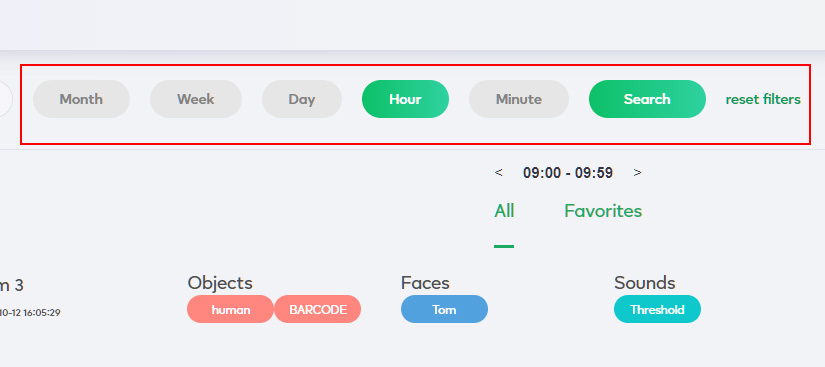
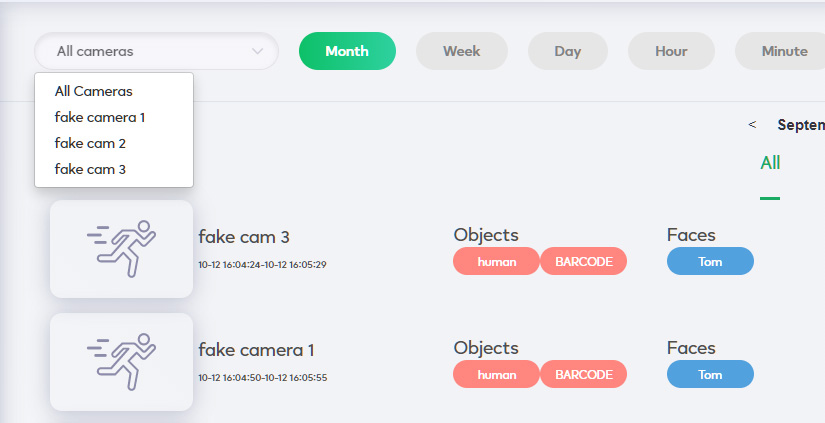 You may use the filter options (i.e., Month, Week, Day, Hour, and Minute) to search for a specific clip.
If there is no recorded clip available for the filtered month, week, day, hour, or minute, then the No items message will be displayed.
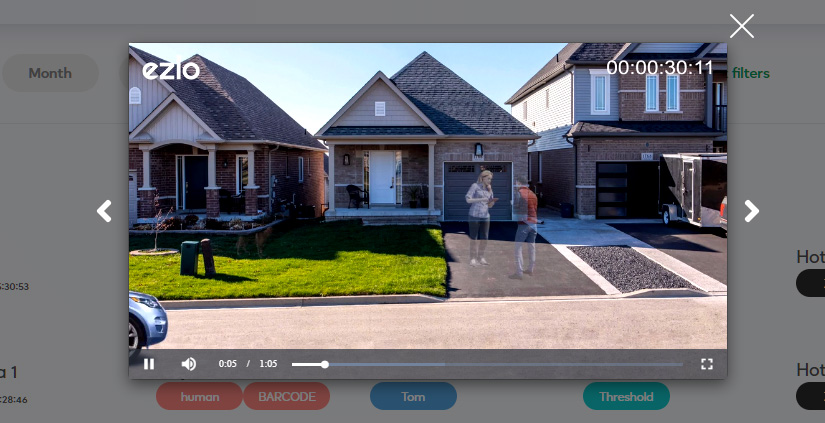
 Example of a recorded clip playing
History
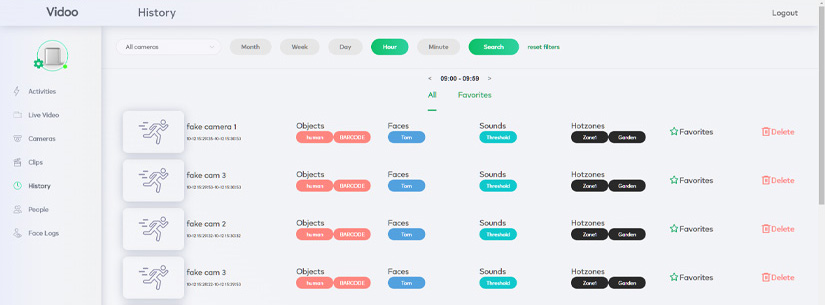
This feature shows the past recorded clip(s) retained in the vidoo App.
When you click favourite button, this history/clips will not delete.
People
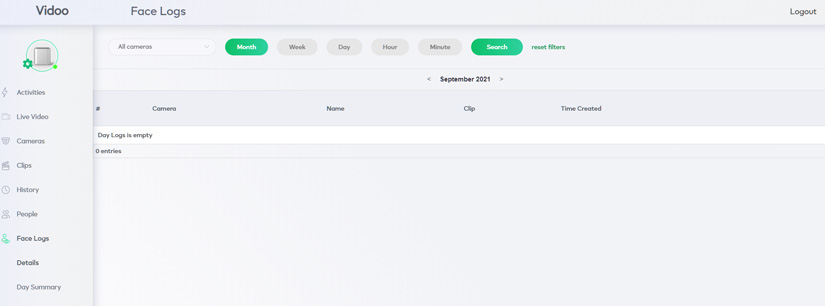
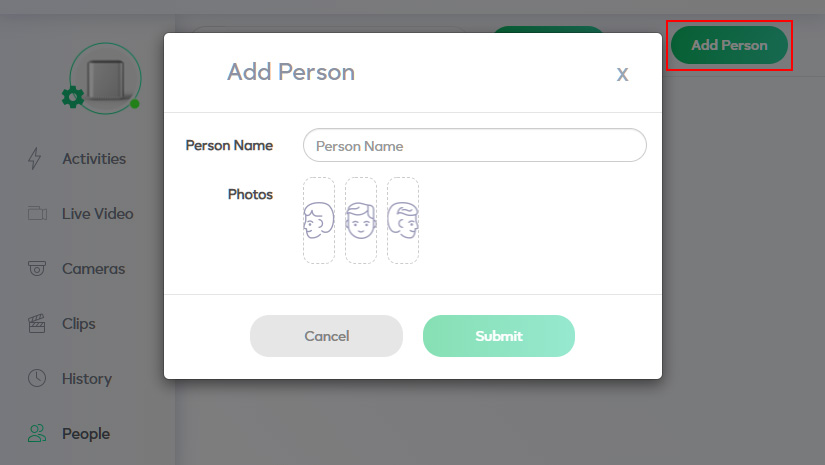
You can add faces of persons you know. Vidoo will notify you who was there. Face log will be also created.
Face logs
This option will show people who visited at your home. It will find then from People tab you have added.
